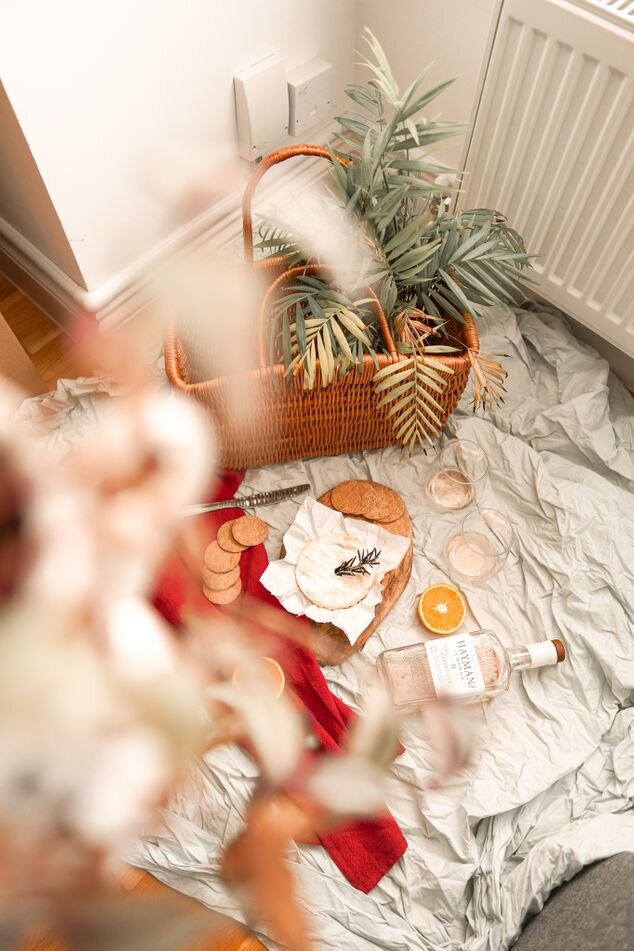
UNDER £40: Professional Home Studio Set-up For Food & Product Photography

Want gorgeous styled photos that look like you’ve got an airy, bright kitchen and the most beautiful props, all for under £40? If the answer is yes… you’re in the right place.
I’m not only going to tell you what you need (see shopping list below) but also how to style so that you can get effortlessly simple and beautiful photos every time, while keeping a consistent style on your feed (and match your feed).
Before I jump in, do note that everything can be customised to your own style. I have based this styling on my own feed style which tends to be warmer in colour and more rustic in texture, but you can easily swap colours, textures and create an easy set up in different ways that I’ll explain below.
Shopping list:
Linen napkin £7.99 (in colour of choice, I’ve gone for red)
Small cutting board or cheese board £5
Small plant £6 (or £5 bouquet of flowers from your local supermarket)
TOTAL: only £31.99 (with small cutting board)
or only £36.99 (with large cheese board as second layer)
Step 1
Assemble your large cutting board on your small stool and add all your props (in no fancy fashion). It may not look gorgeous yet, but this is going to be the base and will allow you to move your “studio” to wherever the light is best for your shot.
Typically, I go near the window in my living room and pull my blinds down as they act as a diffuser for the bright, harsh light. You can also buy a diffuser online if you need, otherwise, just move further inside so the light is not so direct, but still lightens up your “set”.
Looks great already. You can already place your food if you so like, but I’d recommend not adding that yet (I got ahead of myself)
Step 2
Let’s get arranging! Below on the images, I’ve explained why I am placing the items where I am (this photo was taken on a different day, so different flowers, but everything else is the same. Even the fact that you can see all of the random stuff I have in the background. Not to worry, this stuff will not be in the photo.
Without edits (using my red presets)
With edit (using my red presets)
We’ve placed the large cutting board on the stool, arranged the smaller board at an angle and on top of the first board. This created a little bit of depth and more texture into the photo. The angle helps direct the eyes to where you’d like people to look. I’ve added the linen napkin and folded it so that the lines overlap with the lines of the small cutting board. The flowers are laid in the back to frame the plate (what plate, right? If you can’t wait to know about the plate, skip to the next step below). It’s important to direct the audience to where they should look.
Our eyes naturally will follow lines and framed items. For example, flat-lay photos are actually a lot more difficult to create than one would thing as it requires a lot of playing around and organisation to direct the viewer to look at the items laid out in the easiest way possible.
Step 3
This is a step that you’ll physically do (hard work, urgh). You either need to come closer with your camera, or zoom depending on what lens/camera you are using.
Now, to the question above, let’s move on to step 4.
Step 4
Let’s now focus on where the plate will go and why I have arranged everything like this.
Step 5
Now for the last little bit - add in your plate, sprinkle some extra bits around (this may take a few tries, moving the teeny pieces (like the walnut in my photos and the strawberries), but don’t rush, take your time and enjoy the creative process because your image won’t look exactly like mine, but it will be perfect for your style and feed.
If you find that your flowers need a little moving round, do it. Lighting not feeling right… shake things up, your at home studio is only about 2ft by 2ft square so lift it up, move it around and find the perfect spot at your own home where the light looks bright and effortless for your shot. Is your napkin or cutting board looking a bit drab? Don’t stress - any floppy colours or tiny bits of blurry can be fixed when we get to editing the image.
Take in your absolutely incredible creation - this really should be a step in itself.
How are you feeling about being at home now? Do you feel like you could do this or create something similar in your own space?
All of this done under £40 and from the comfort of your own home and if you want, you can even order everything online so you really don’t have to go anywhere!
See below for my “final shot” and a few other set-ups that I’ve created with the same step by step process in mind, using different products.
Once you’ve gotten the hang of it, try moving your “studio” around, put it on the sofa, or on your bed (like the lighting in your bedroom, then do it!) or take it outside even! Enjoy mixing and matching with your props, and use other makeshift items at home that could be fab options (such as a reusable bag instead of a linen napkin).
Enjoy creating and if you share anything on social media, be sure to tag me!


